

Reinforcement Kit Installation Summary
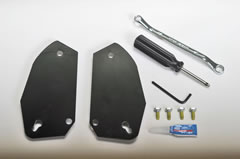
The reinforcement kit includes everything you will need to complete the installation, including detailed instructions.
Step one is to detach the foot stretcher assembly. Remove the footplates (6 screws each) to access the 2 hex head screws which attach each side of the foot stretcher assembly
Here the foot stretcher assembly has been removed.
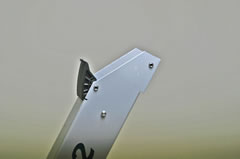
Install the reinforcing plates to each side of the box frame.
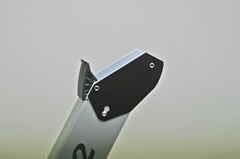
Here the foot stretcher assembly has been reattached. Done.
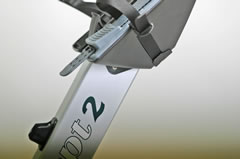
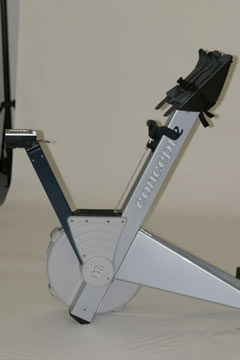
Images of the Indoor Rower before and after fitting the upgrade kit